
Painting a room can be one of the easiest and most satisfying DIY projects homeowners can undertake themselves. A fresh coat of paint can quickly transform a dull space into one with vibrant, lively color!
Preparing to paint your home takes careful planning and preparation; take the edge off by learning from these expert tips on how to do it right! Learn the skills of home painting like a pro!
Prep Your Walls
Paint can transform a room, but only if the surface is properly prepared. Dirty surfaces won’t accept paint well, highlighting flaws such as nail holes or deep scratches in its way.
First, start by thoroughly cleaning the walls and trim using a damp sponge. Remove stubborn marks like grease spots or smoke residue using degreasing products; fill cracks and dents using Polyfilla’s flexible gap fillers (recommended around windows/door edges); once dry sand/vacuum to give it an even finish.
Prepare Your Tools
Paint can be one of the simplest and most affordable ways to transform your home, be it freshening up one room or selling your entire residence. Learning proper techniques and organizing tools will help ensure professional-looking results.
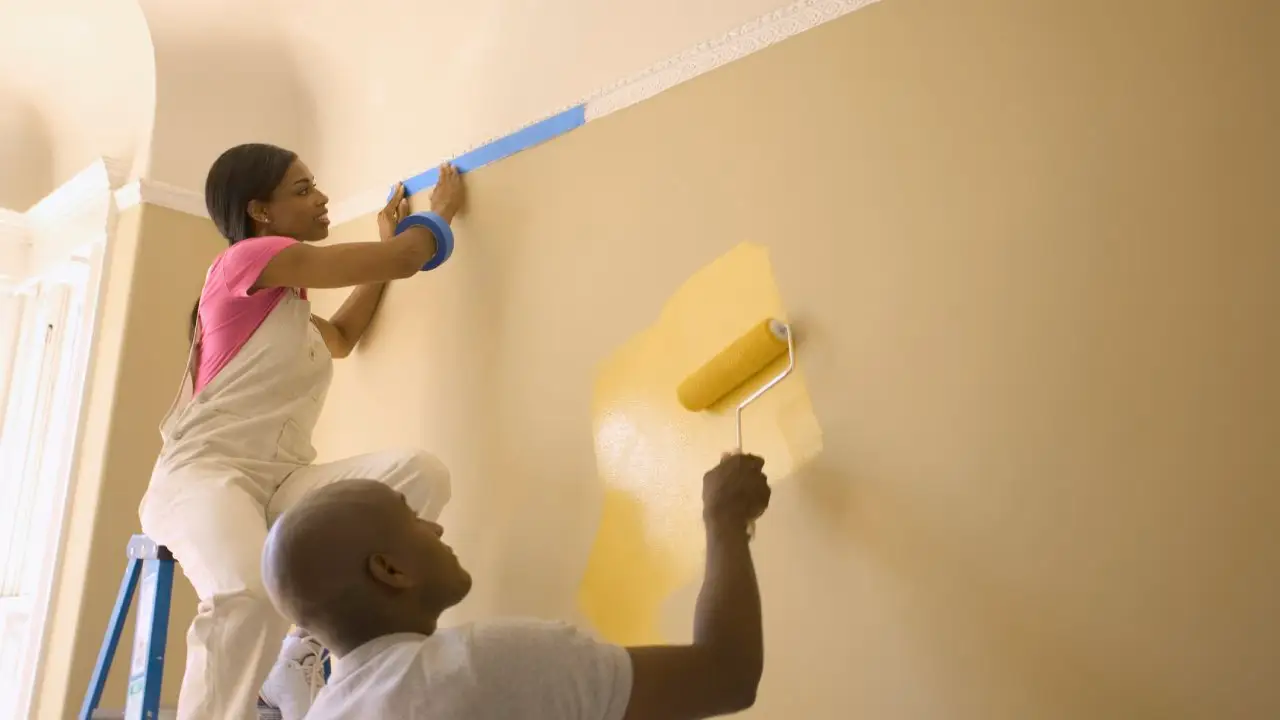
Before beginning painting, use a damp cloth to wipe down the walls to remove dust and cobwebs, using a broom for corners and baseboards and windows. For trim projects using tape instead of masking tape (which could peel paint from walls), select painter’s tape instead as it won’t peel paint away as easily. Moreover, select an appropriate roller nap such as wool/poly blend for smooth surfaces, or foam for cabinets and doors if using painter’s tape is used for trim projects.
Prep Your Surface
Professional painters take great care and preparation when painting homes and commercial properties, to ensure each coat of paint applies smoothly and is lastingly protective of surfaces. Achieve maximum visual impact from any paint job requires proper planning and execution by professional painters who understand its value in upgrading a space’s curb appeal.
An integral component of surface preparation is cleaning the wall. A broom is helpful in reaching hard-to-reach corners while damp cloth wipes down moldings and window sills. Lightly sanding interior walls using a pole sander helps ensure greater paint adhesion and coverage.
Before beginning painting, it is also crucial to check the weather forecast and ensure the room is completely dry – high humidity levels may cause your paint to bubble or run when applying it.
Apply the First Coat
After prepping and moving furniture and hanging drapes, apply a first coat of paint. Starting at the ceiling and working your way down is best practice for an efficient application process.
With a roller, apply two thin coats of paint. Doing this will provide greater opacity and coverage than one thick layer which could drip or chip more easily.
Keep the manufacturer’s instructions for application of paint coats in mind when painting on hot days; applying another before the first has completely dried can result in bubbles or flaking from your walls. Furthermore, humidity levels can hinder how quickly paint dries.
Apply the Second Coat
Careful application of the second coat is key to creating a professional look, although this may take two or four days of effort for one room. But the result will more than make up for its time spent painting!
Avoid painting on humid days as the moisture can cause drips and slow the drying process, leading to uneven coverage in your finish and creating untidy results.
Cover your paint brushes and rollers in plastic wrap to keep them from drying out, which will ensure they are ready to be used once your project is completed, as well as helping ensure an even second coat application.
Finishing Touches
Preparation is key when it comes to creating the fresh new look associated with professional house painters. Follow these easy tips and tricks for creating an excellent paint job that will last years!
Avoid painting on humid days, which can result in an unsightly finish. Instead, paint when conditions are dry and clear.
Painter’s tape can make all the difference for a smooth and professional-looking surface. Applying and pulling up before the paint dries will guarantee crisp lines; don’t dip your brush directly into the can; instead dip about 1/3 of its bristles into it before wiping away any excess.